
How to Set Up Your Online Store on Haulistic: A Step-by-Step Guide
Creating an online store has never been easier, and Haulistic makes it simple for entrepreneurs to launch their e-commerce business quickly. Whether you're selling handmade crafts, digital products, or retail items, this comprehensive guide will walk you through every step of setting up your store on Haulistic.
Getting Started: Creating Your Account
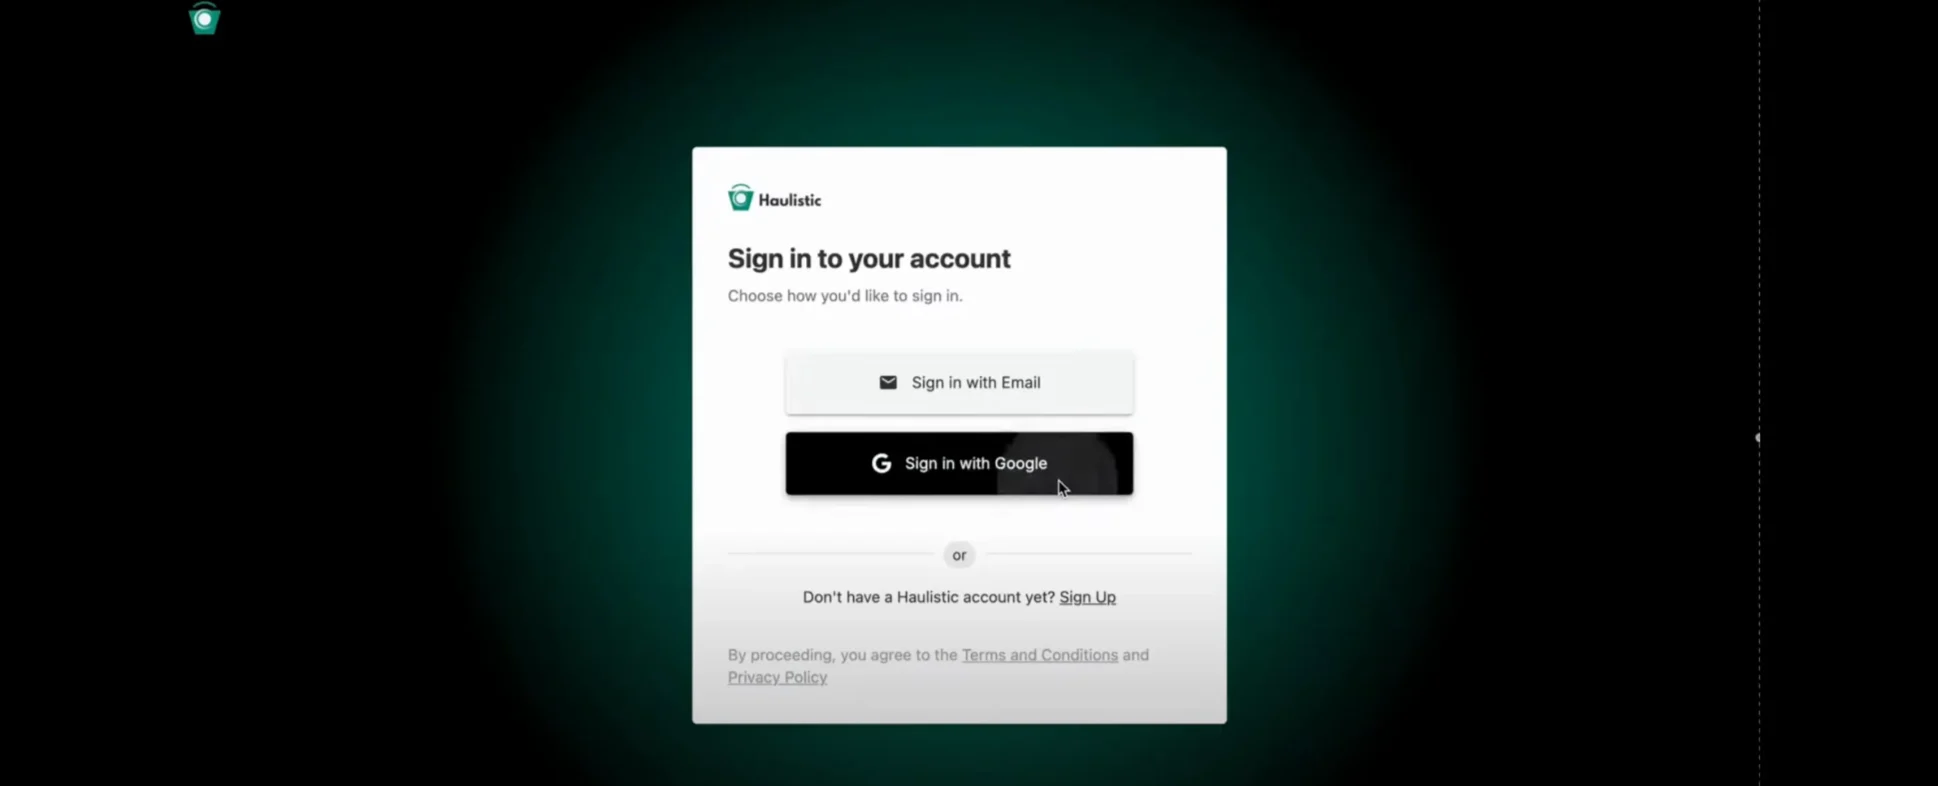
The first step to building your online empire is creating your Haulistic account. Head over to haulistic.io and you'll find two convenient ways to get started:
Option 1: Traditional Sign-Up
- Enter a valid email address
- Create a secure password
- Verify your email
Option 2: Google Quick Sign-Up
- Click "Sign in with Google"
- Use your existing Google credentials
- Skip the email verification process
Choosing Your Store Identity
Once you're logged in, it's time to give your store its identity. You'll need to:
- Select a Store Name: Choose something memorable and relevant to your brand
- Pick Your Business Category: Browse through the dropdown menu and select the category that best fits your business model
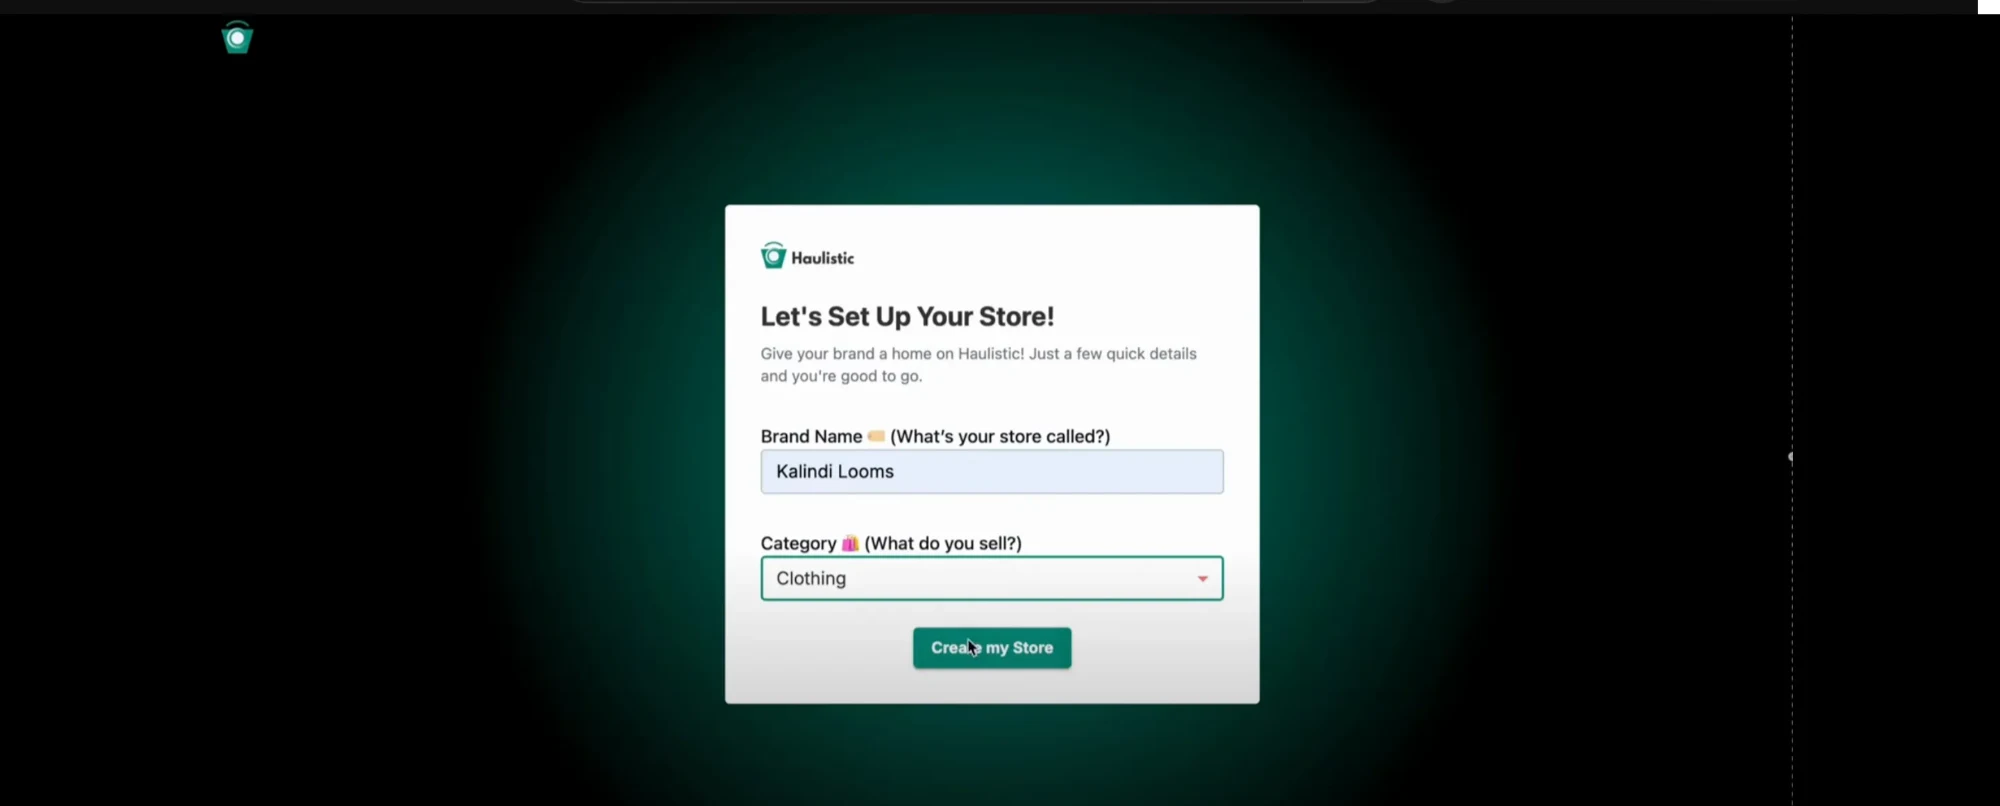
After making these selections, click "Create My Store" and you'll be taken to your store dashboard.
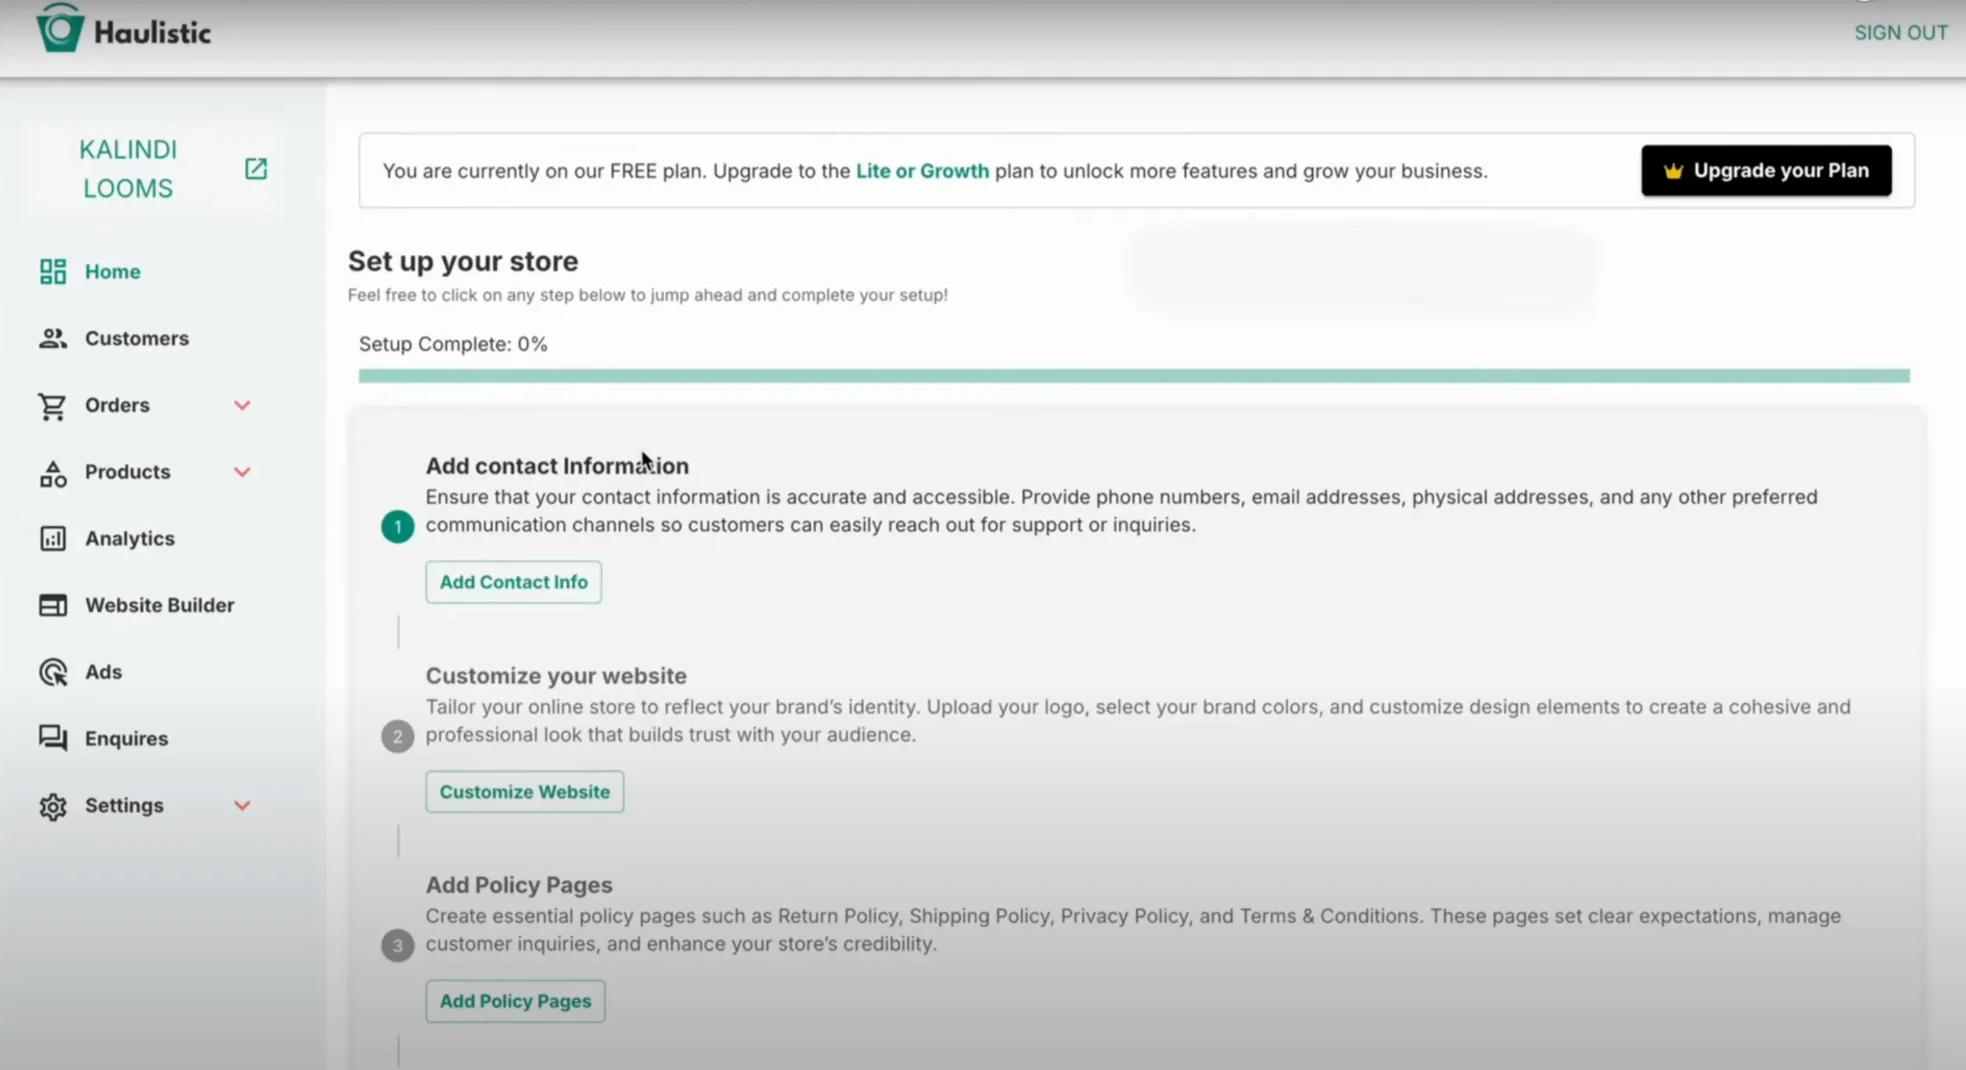
Understanding Your Dashboard
Your new dashboard is your command center, featuring:
Left Panel Navigation:
- Products
- Customers
- Orders
- Analytics
- Reports
Main Setup Sections:
- Add Contact Information
- Customize Your Website
- Add Policy Pages
- Add Products
- Payment Details
Your store name will be prominently displayed at the top of the panel, giving you that professional feel right from the start.
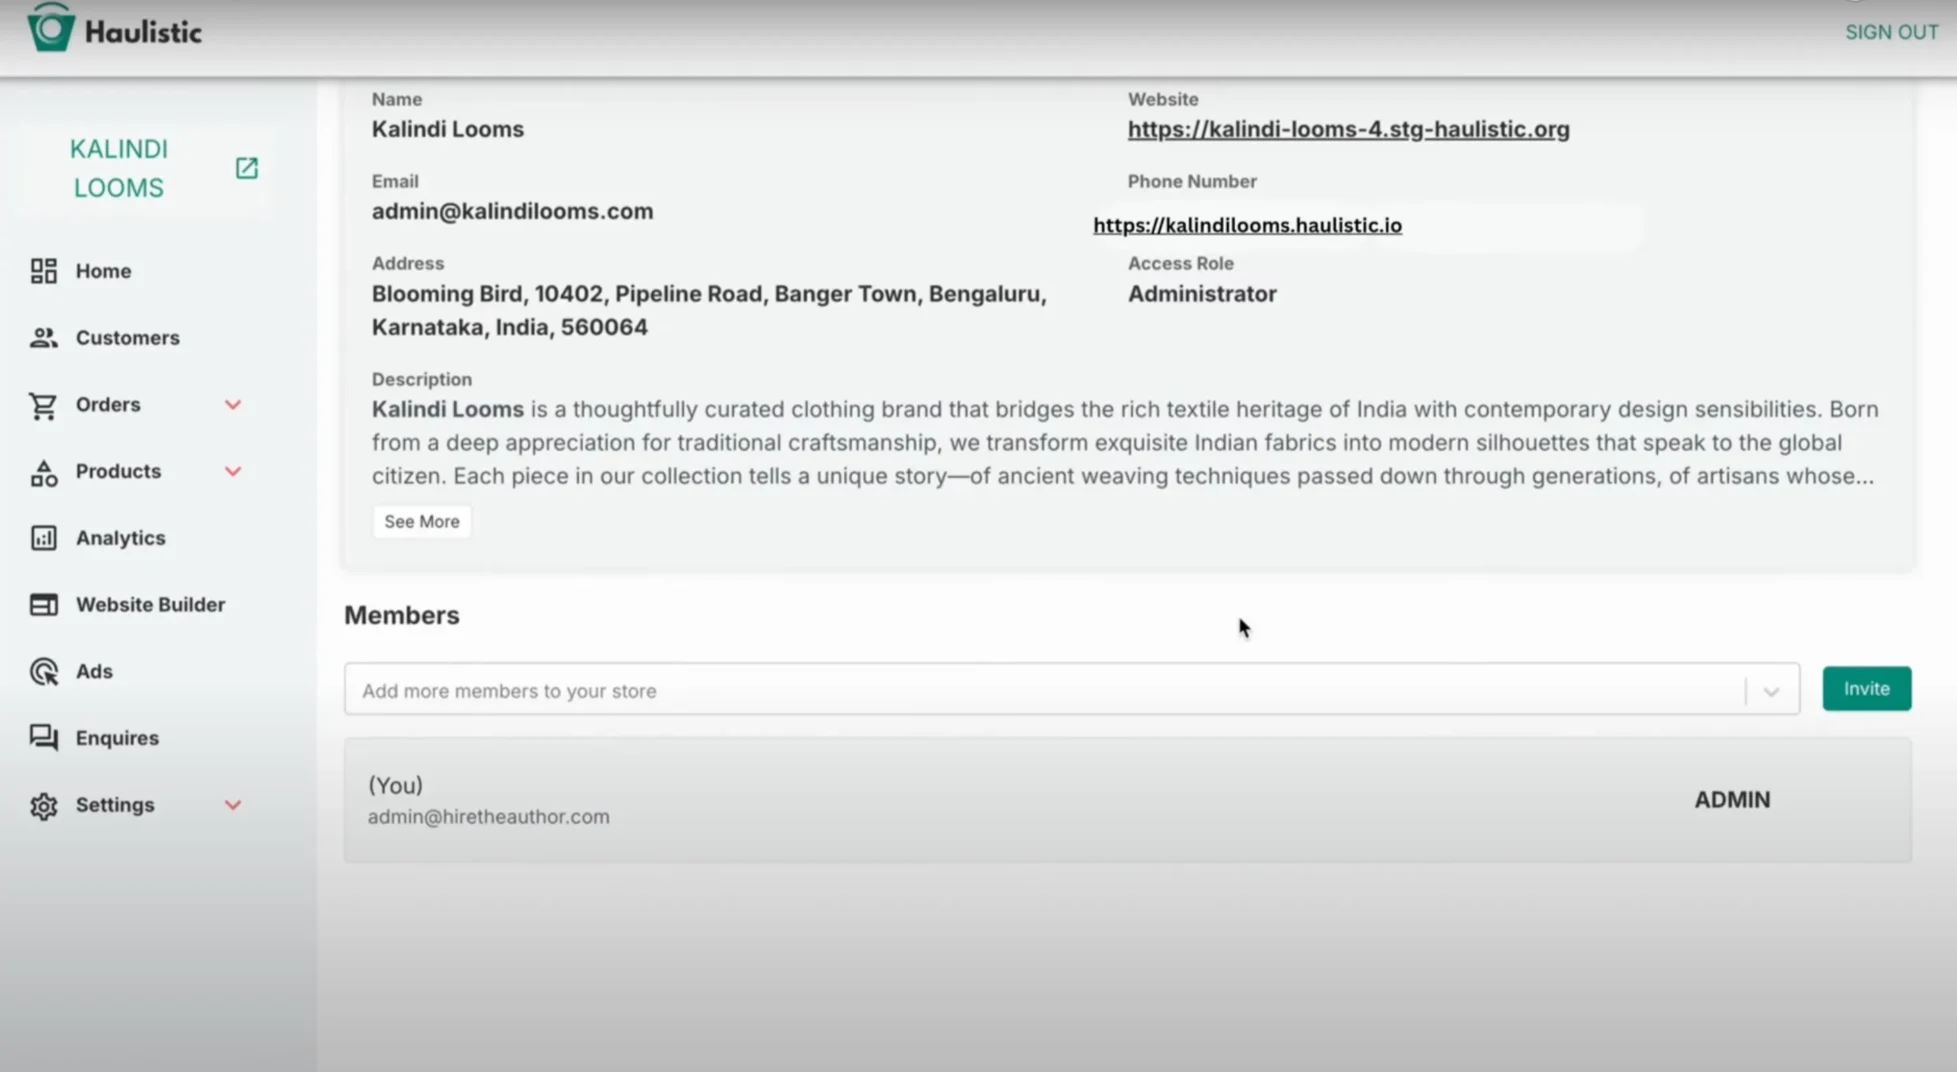
Step 1: Adding Your Contact Information
Your contact details build trust with customers and provide essential business information:
Required Information:
- Store contact number
- Business email address
- Detailed description of what you're selling
- Physical or business address
Take time to craft a compelling store description that clearly communicates your value proposition. This description will help customers understand what sets your business apart.
Step 2: Customizing Your Website
This is where your brand comes to life visually. The customization section allows you to:
Visual Elements:
- Upload your logo and brand icons
- Add cover images optimized for both desktop and mobile
- Choose your UI theme colors that reflect your brand personality
- Add images that correspond to your store description
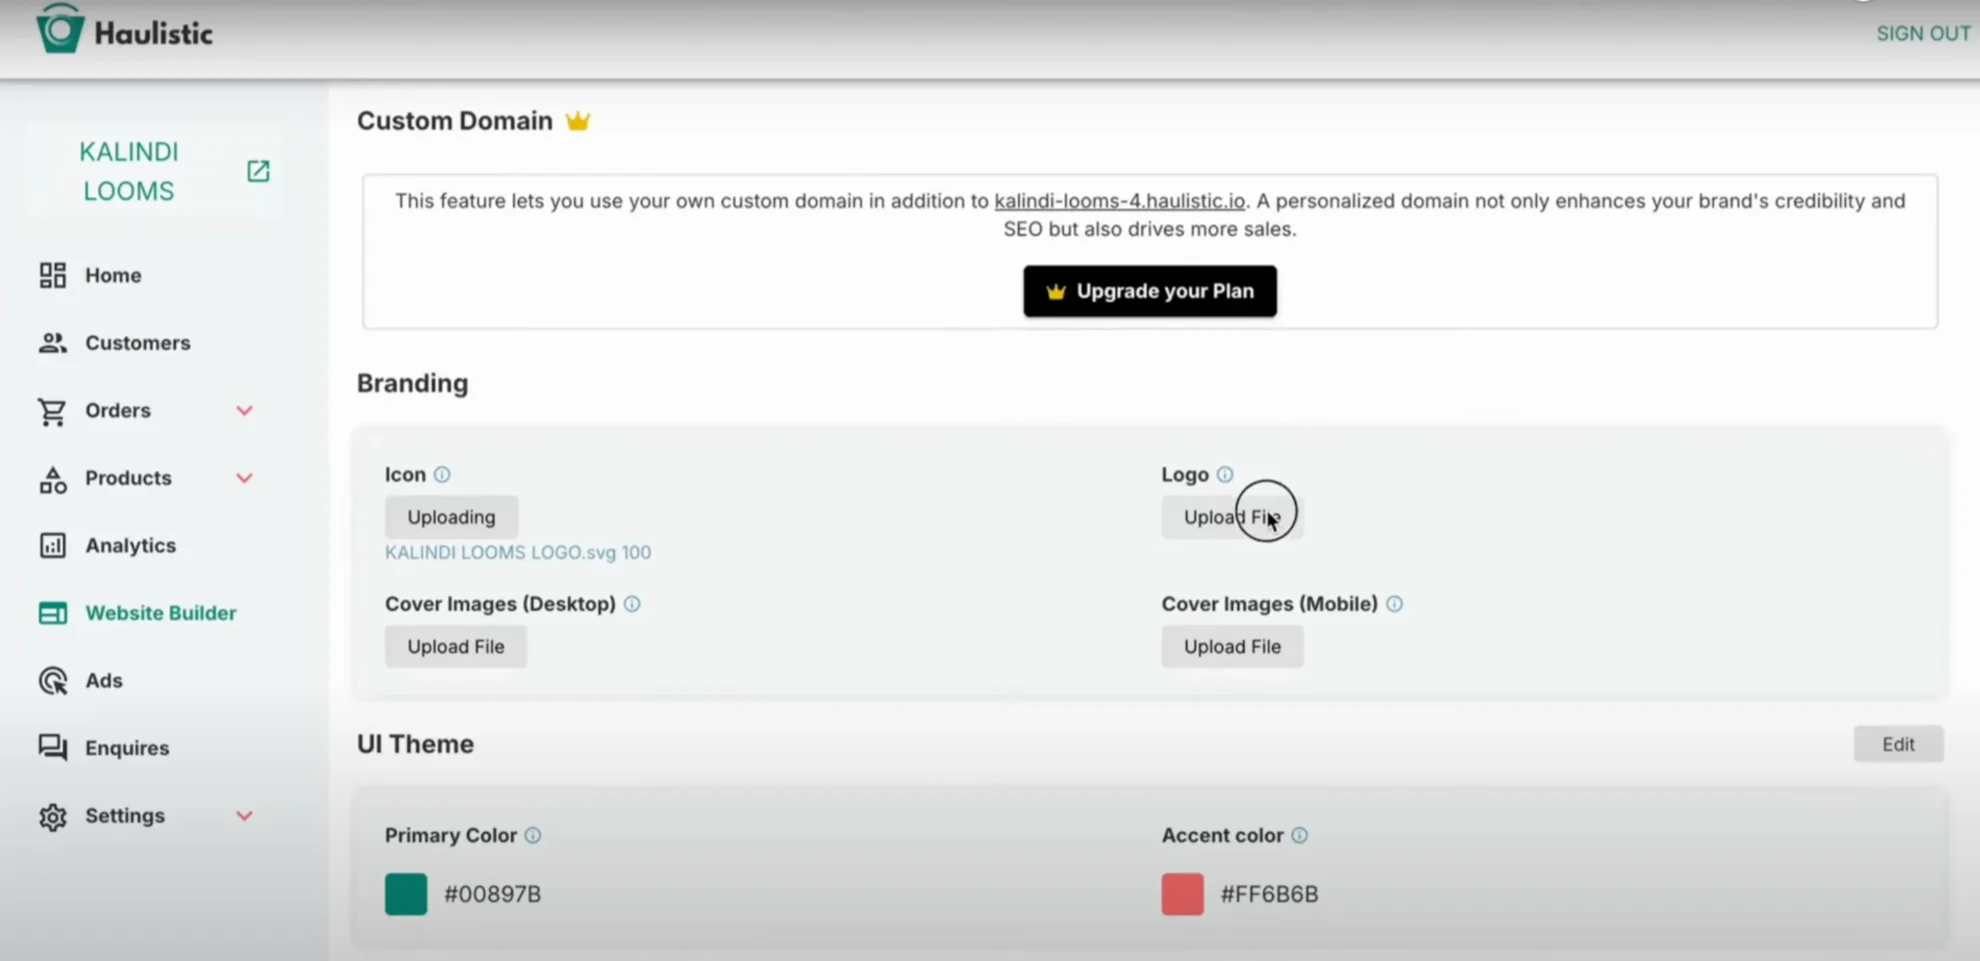
Pro Tip: Ensure your images are high-quality and consistent with your brand aesthetic. Your cover image is the first thing visitors see, so make it count!
Step 3: Connecting Your Social Media
In today's digital landscape, social media integration is crucial for business growth:
Supported Platforms:
- WhatsApp Business
- And other major social platforms
Linking your social media accounts creates a cohesive online presence and provides customers with multiple ways to connect with your brand.
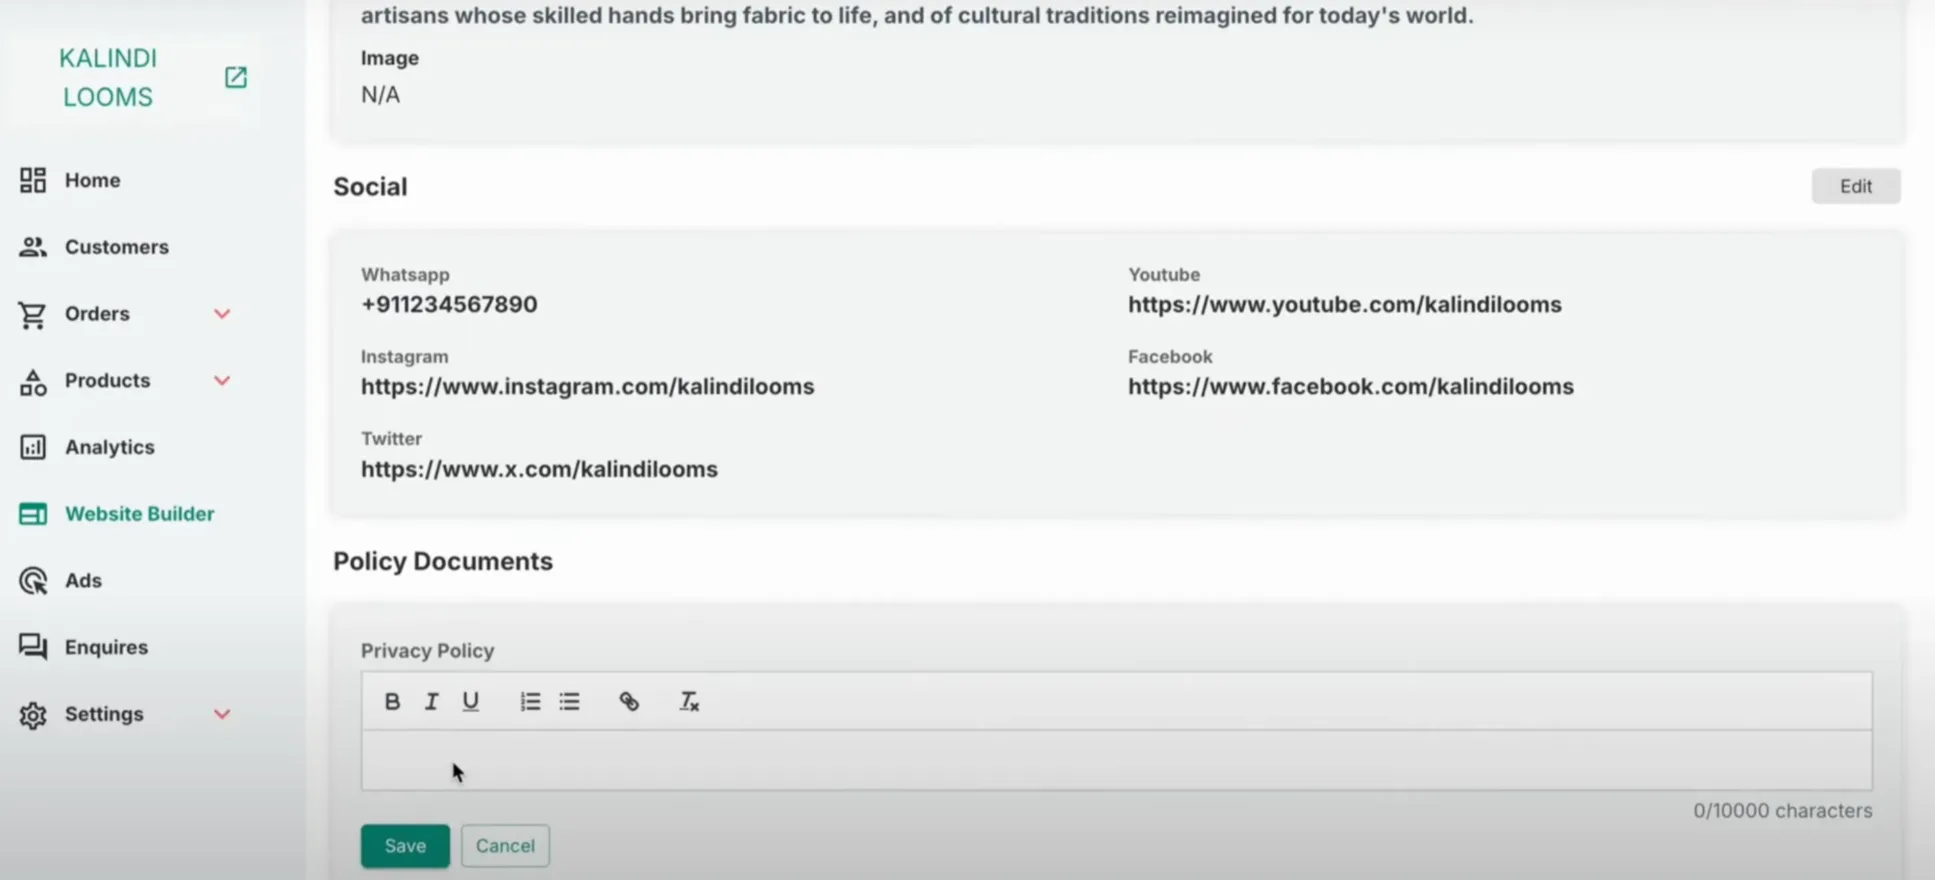
Step 4: Adding Essential Policy Documents
Legal compliance and customer trust go hand in hand. You'll need to add:
Required Policies:
- Shipping Policy
- Privacy Policy
- Terms and Conditions
- Return and Refund Policy
These documents protect both you and your customers while establishing clear expectations for transactions.
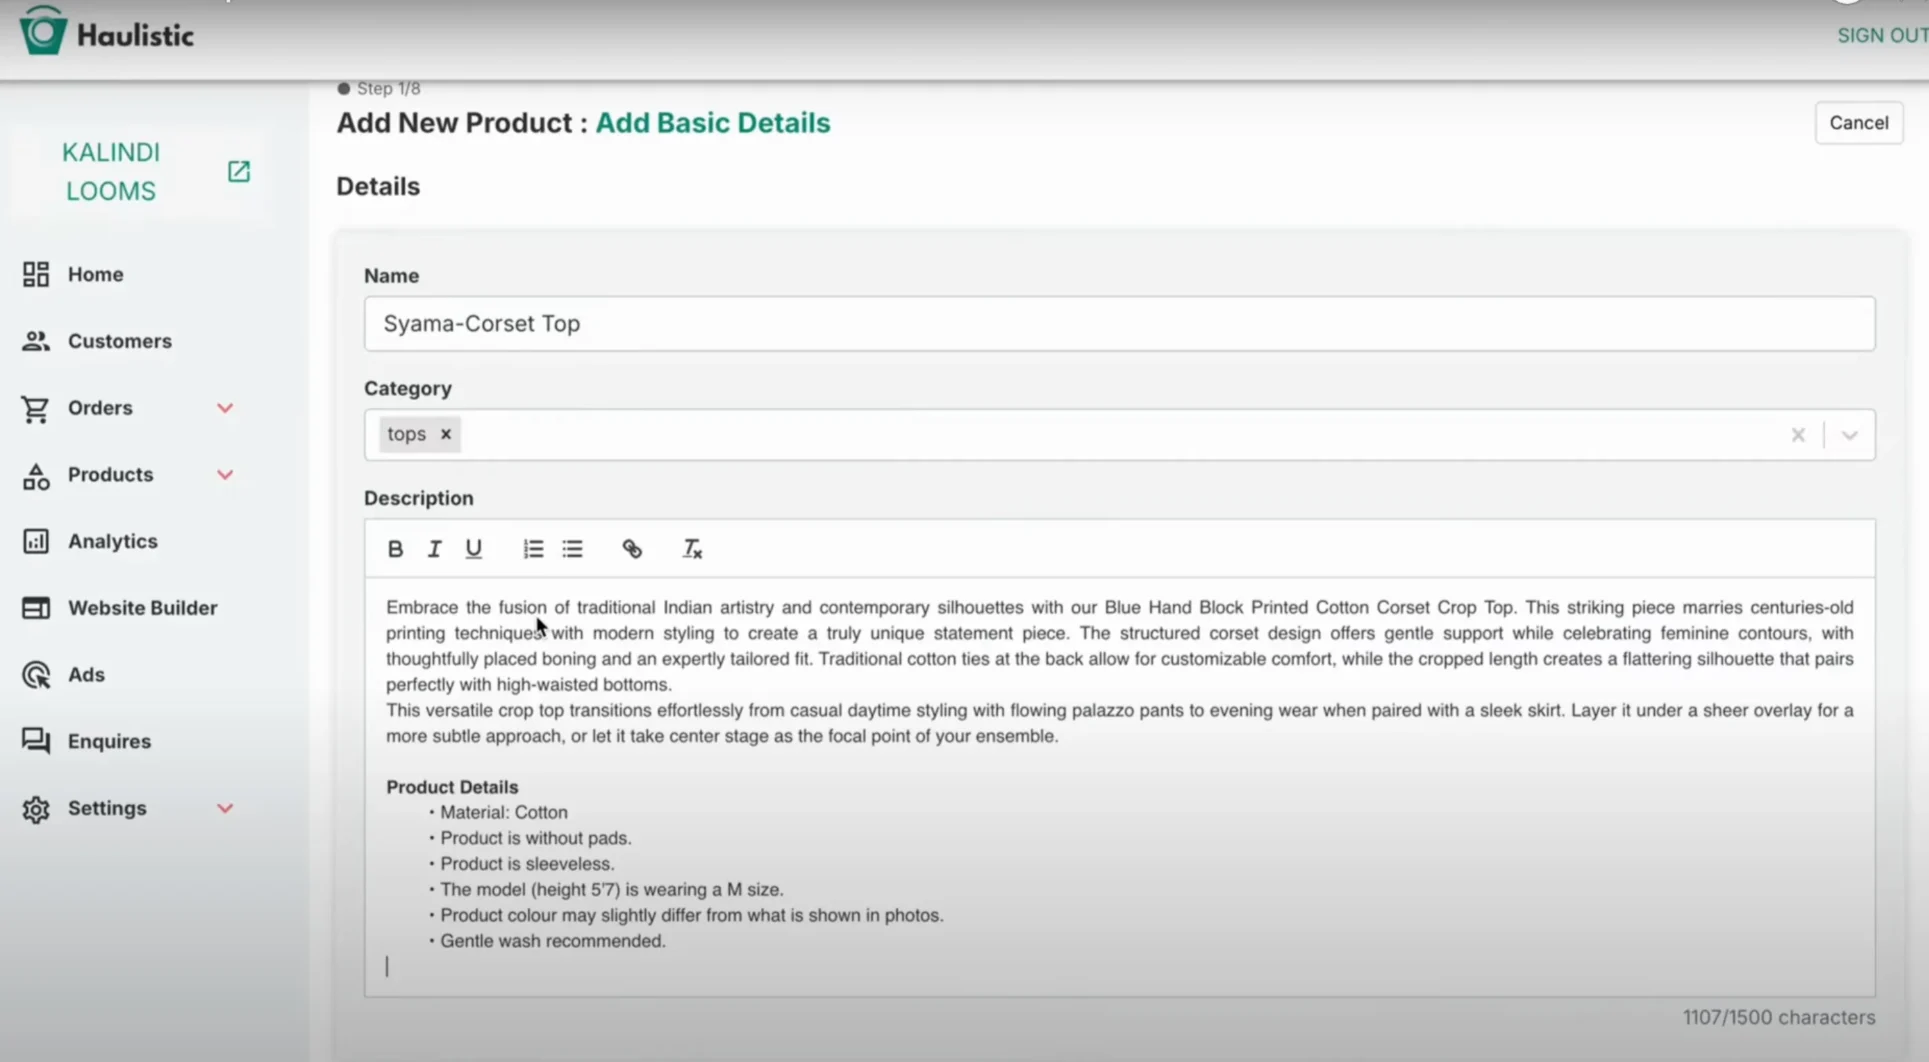
Step 5: Adding Your First Product
Now comes the exciting part – adding your products! This is where your store truly comes to life. Each product listing should include:
- High-quality product images
- Detailed descriptions
- Accurate pricing
- Inventory information
- Product variations (if applicable)
[Note: For a detailed guide on adding products, check out Here]
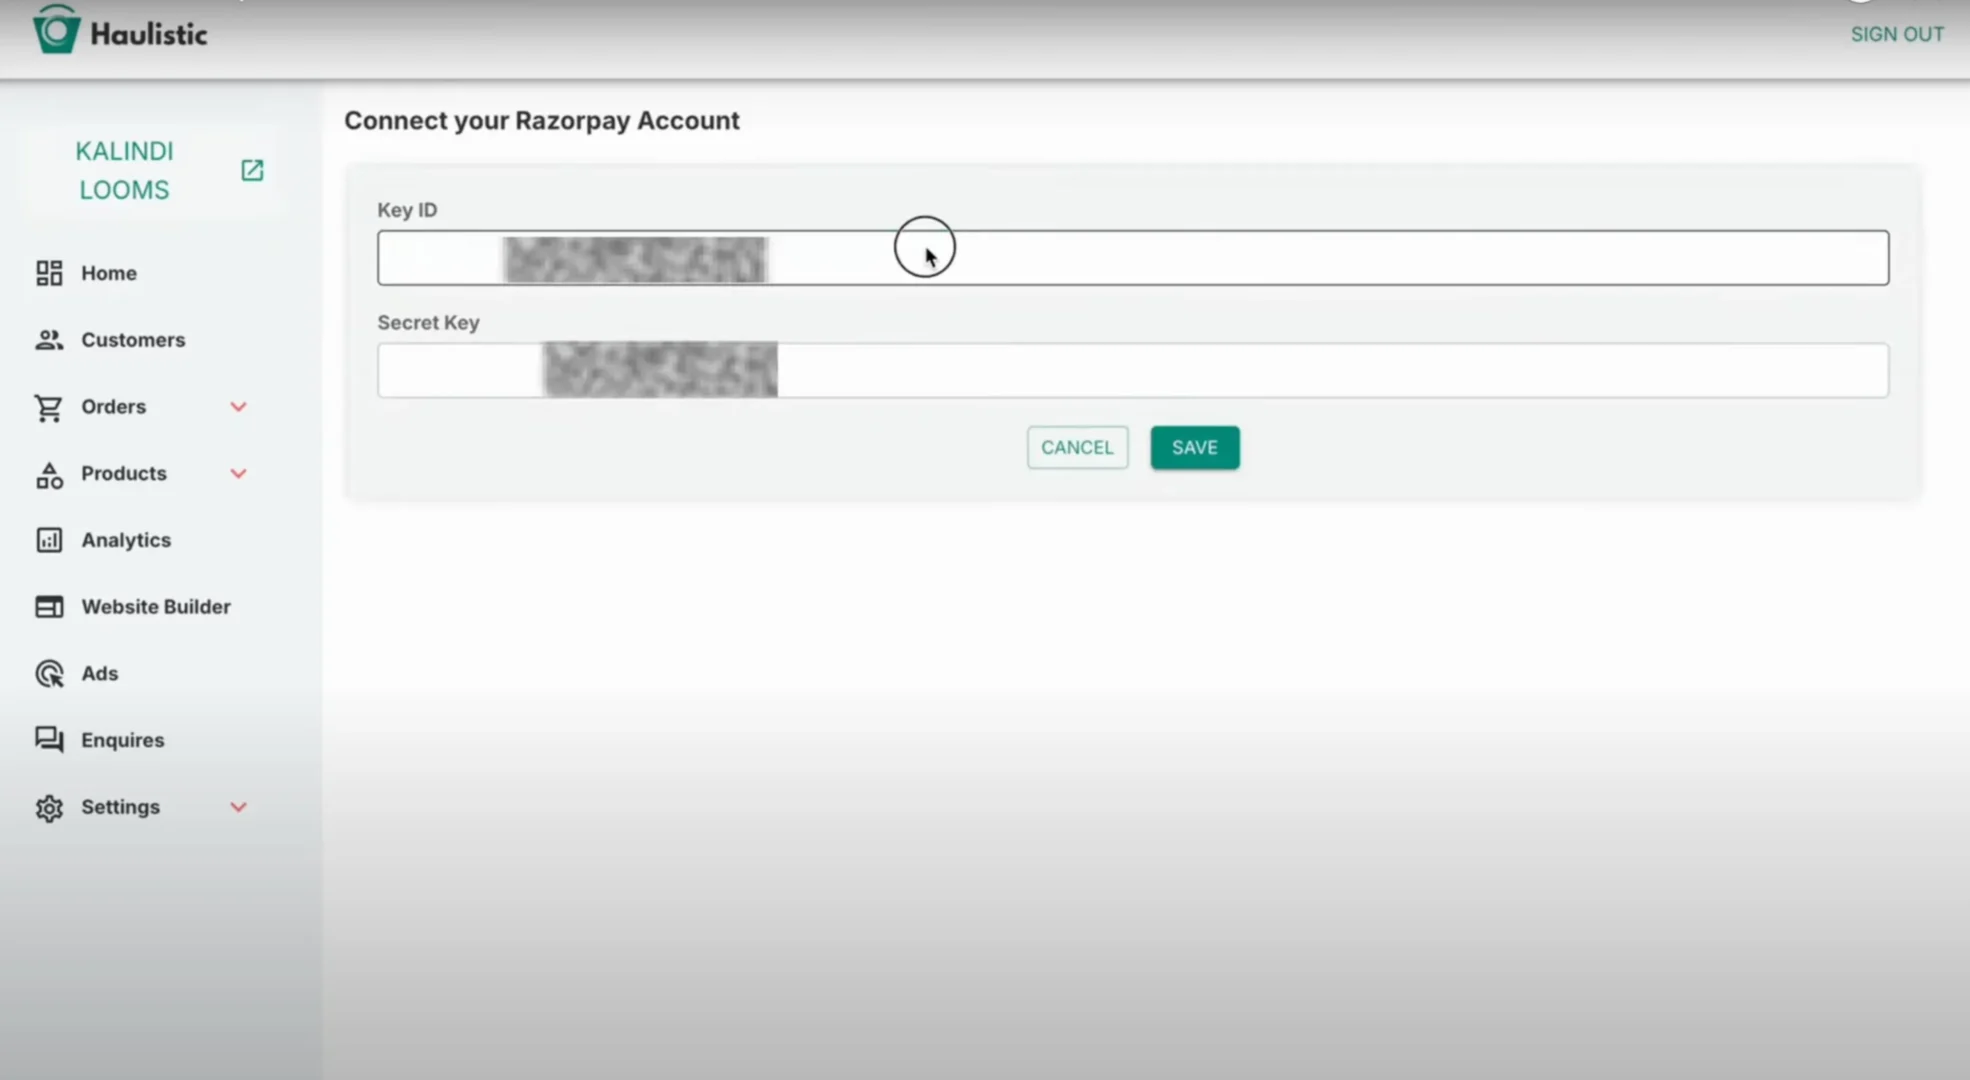
Step 6: Setting Up Payment Processing
The final step is connecting your payment options to start accepting orders:
Payment Setup Process:
- Navigate to the payment section
- Link your preferred payment accounts
- Configure payment methods for customers
- Test the payment process
Popular payment options typically include credit cards, digital wallets, and bank transfers.
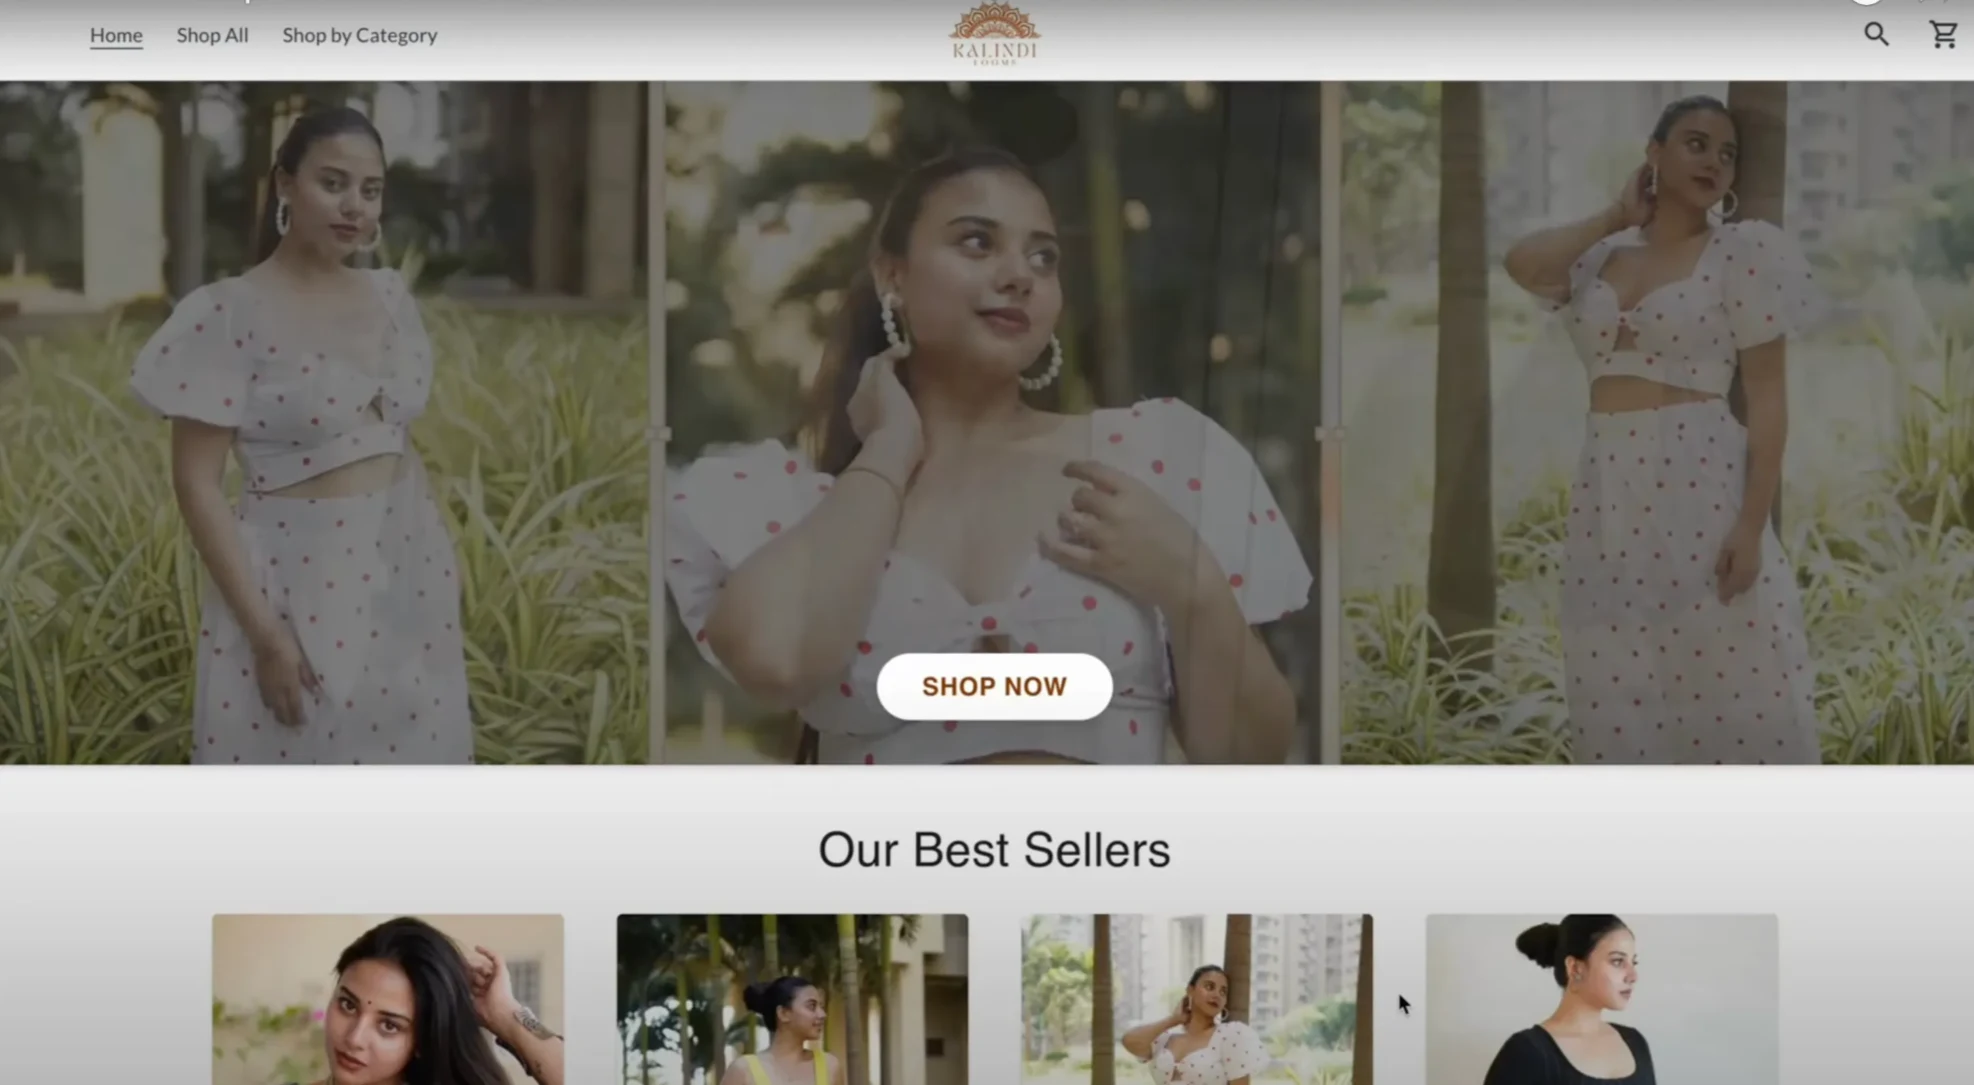
Going Live: Your Store is Ready!
Once you've completed all these steps, your dashboard will show a completion percentage, indicating how much of your store setup is finished. When you click on your store name in the left panel, you'll see your live website – congratulations, your online store is now active!
Tips for Success
Before You Launch:
- Test all functionalities thoroughly
- Review your store from a customer's perspective
- Ensure all links and images work properly
- Double-check your contact information and policies
After Launch:
- Monitor your analytics regularly
- Respond promptly to customer inquiries
- Keep your product listings updated
- Continuously optimize based on customer feedback
Conclusion
Setting up an online store on Haulistic is a straightforward process that can be completed in a matter of hours. By following this step-by-step guide, you'll have a professional, fully-functional e-commerce website ready to start generating sales.
Remember, launching your store is just the beginning. Success comes from consistently providing value to your customers, maintaining high-quality products, and continuously improving your online presence.
Ready to start your e-commerce journey? Head over to haulistic.io and begin building your online store today!
Guide details
Reading time
4 min read
Published
July 8, 2025
Topic
Store setup